Award-Winning!

The Complete Guide to Creating Drag and Drop Interactive Activity for Students

Gamification of learning increases engagement, but we don’t need experts to tell us this because we see it every day. The problem is that it is time-consuming to turn your teaching materials into games and activities. But some tools can help.

TeacherMade is a tool that creates online digital worksheets. You can enhance interactive assignments with options like Drag and Drop. You will see engagement levels increase. Read on to see how our Drag and Drop feature works.  

TeacherMade Drag and Drop Features

Pre-Made Drag and Drop Activities for You to Explore

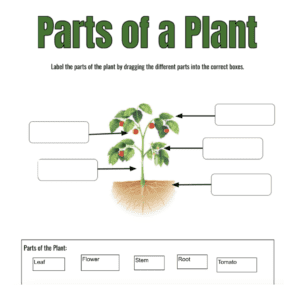
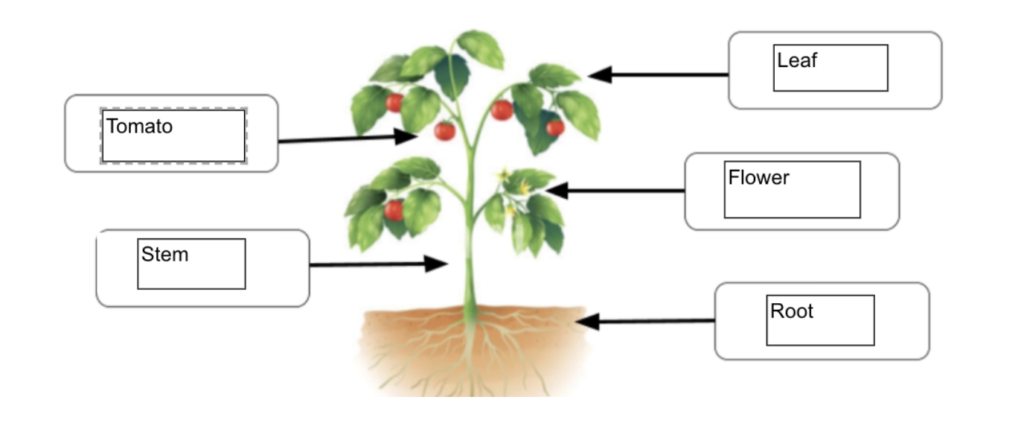
When creating Drag and Drop, we did so with two use cases in mind: Labeling and Categorization. Labeling is great for worksheets where students will need to label any diagrams like parts of a plant or layers of the earth. With categorization, think of examples like separating different words into parts of speech or living things vs. non-living things.

Here are links to two activities already TeacherMade’d using the Drag and Drop feature:

If you want to recreate these activities from scratch and practice using Drag and Drop on your own, here are the PDFs:

TUTORIAL: How To Make a Drag and Drop Interactive Worksheet in 3 Steps

When you make a Drag and Drop, you’re actually creating two types of objects: those to be dragged and the area to drop them into. You’re telling the TeacherMade app, “OK, this is the object I want my students to select. And now I want them to place it right over here. When they do, it’s correct. If they don’t, it’s incorrect.”

To make this interaction happen, you will need to use two new tools found on your toolbar.

Toolbar

The first is the “Snipping Tool.”

snipping tool

This tool allows you to snip parts of the original assignment you upload to TeacherMade. Use the snipping tool to identify the parts of the worksheet you want to make into draggable objects. (Don’t worry! There are other ways to create draggable items too.)

The second is the “Drop Zone” tool:

drop zone tool

This tool is how you’ll identify the Drop area(s) on your worksheet. Draggable objects have to be placed somewhere. Use this tool to create the location where your draggable item will go.

Now for the fun part! Here are the three simple steps to remember when creating Drag and Drop questions:

STEP 1: Creating the “Drag” portion of your activity

There are two kinds of “Draggable Items” when creating a Drag and Drop activity:

    1. Those that are already printed on your worksheet PDF that you want to make draggable
    2. Those that you add to your worksheet via Image and Teacher Text tools.

Add Draggable Objects Using Image and Teacher Text Tools

You use the Image and Teacher Text tools all the time to add content to your TeacherMade activity, especially changing instructions. Now you can use those tools to create draggable objects! 

When you use these tools to add content to your worksheet, you will now see the option to make the item “Draggable” on the Options bar:

draggable option

Be sure to check the box next to “Draggable” to activate.

Select Parts of Your PDF to Become Draggable Using the Snipping Tool

Use this tool when you upload a worksheet that already contains pictures or words that you want your students to manipulate.

snipping tools

When you click on the Snipping Tool, it turns your mouse cursor into crosshairs. Click and drag over the area you want to be a draggable object.

draggable tool

Once you have created draggable items, a pointing-finger will appear in the upper left corner of the object.

object draggable

**Pro Tip: To save yourself time, be sure that the Draggable box is checked before snipping your first object. This will ensure that the box remains checked when you use the Spacebar shortcut (otherwise, you’ll have to go through and make each snipped item draggable, individually).

**Pro Tip #2: Did you see a problem during your preview, and you want to change a draggable item you’ve snipped from the worksheet? Don’t worry! It’s easy. The trick is that the snipping tool doesn’t really remove anything from your background. It just creates an image from it and inserts a color block behind it. So, to fix a problem, just click to select the draggable object, and hit the Delete key to remove it. You’ll see the color block behind it. Click to select the color block, then delete that, too. Voila! Your background is still there and you’re ready to re-create the snipped object.

STEP 2: Identifying the “Drop” area(s) on your activity

drop zone tools

The Drop Zone tool is a flag found on the right side of your toolbar. When you select the Drop Zone tool from the toolbar, your cursor will change to crosshairs, allowing you to create a drop box anywhere on your assignment. Draw your Drop areas, or zones, onto your activity.

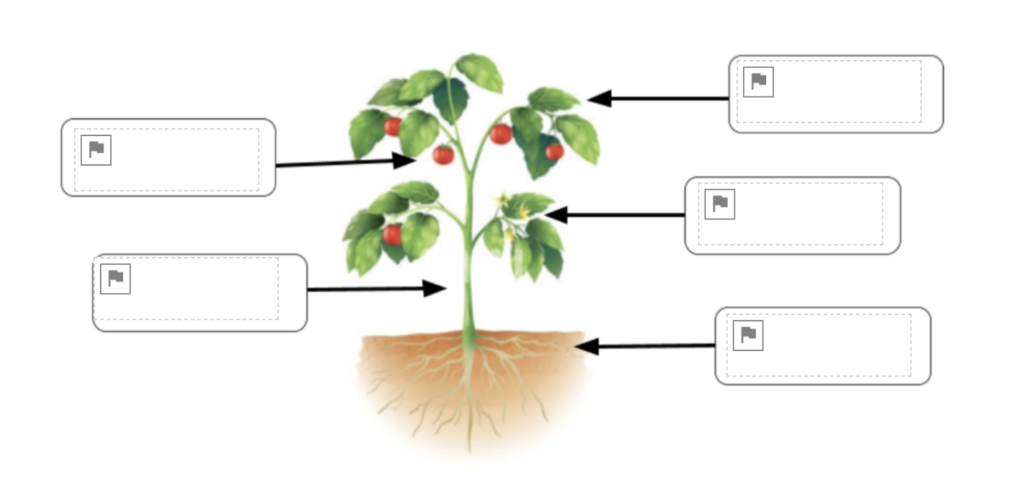
Once you have drawn your Drop Zones, your drop boxes will look something like this.

drop zone tool example

Each Drop Zone will be a gray box with a small gray flag in the upper left corner.

Each Drop Zone has an Options bar that looks like this.

drop zone options bar

The Paint Can allows you to control the color of the box, and the Pencil lets you change the border. The Clear Link button is used to clear all links connected to the Drop Zone. 

By default, Teachers can only attach one draggable item to each Drop Zone. That works great for labeling activities like in our plant example above. If you’re creating a categorization worksheet, though, you may want to allow students to drop more than one item into a Drop Zone. To do that, just click the “Allow multiple items.”

FYI: When “Allow multiple items” is unchecked, dragged objects will “snap” into place when students drop them in a zone. When there are multiple items allowed, objects will remain where placed by the student.

STEP 3: Connecting the Drag Objects to their Drop Zones

Once you’ve set up the draggable objects and drop zones, now you must start connecting them so the app knows how to auto-score your activity!!

Your worksheet should look something like this:

worksheet

**Pro Tip: Use the Zoom tool here to zoom out of your worksheet. This will allow you to see all of your options on each page rather than having to scroll to connect them.

Here are the steps to connect them:

    • Start by clicking on which of the Draggable images you want to connect. When you do, you will see the right-hand icon appear again.
    • Click on the right-hand icon and start dragging it towards the correct Drop Zone.
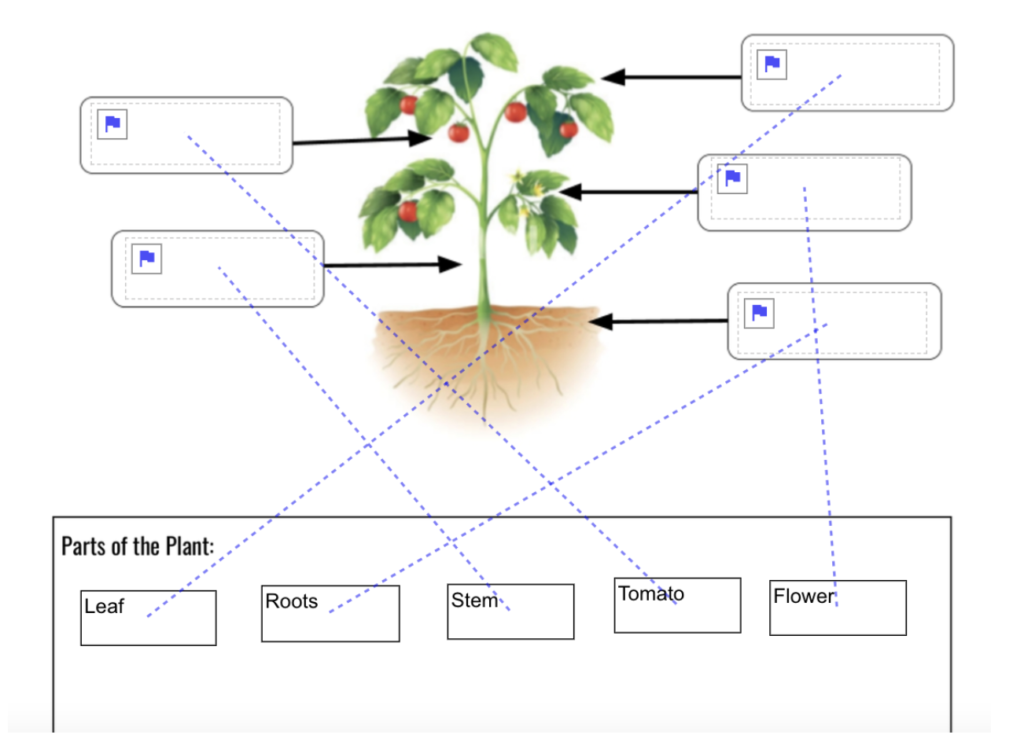
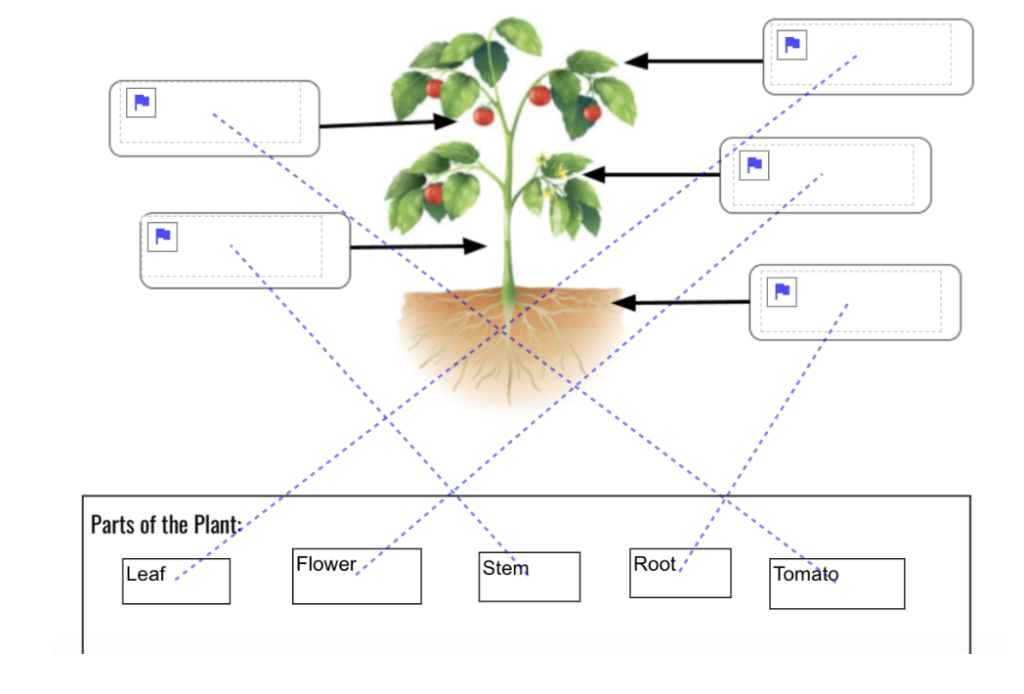
    • Once you have connected the right-hand icon of a draggable object to its Drop zone, the little flag and hand icons will light up blue. A blue line will also appear between the object and the zone. (This is similar to the Matching tool.)
    • Continue until each Draggable item is matched to a Drop Zone. Your worksheet will look like this:
draggable items toolbar
drop zone worksheet

**Pro Tip: You can also connect a draggable item to its Drop Zone by clicking the item, then holding the shift key while clicking the Drop Zone.

Make the Drag and Drop Question Auto-Score

Start by selecting one of the Draggable items. Now that it is connected to a drop zone, you will see a menu bar that looks like this:

drop zone auto scoring toolbar

By default, each Drag and Drop question will be worth 1 point (unless you change your default score).

To change the point value, simply click on the green value box and choose a new point value from the drop-down menu.

Congratulations! You’ve made it to the end 🙂 You now know how to create a Drag and Drop question. Go give it a try and let us know what you think! Once you know how to do it, they really are quick to make.

What Your Students See

When your students open a Drag and Drop assignment, they will see a much cleaner version of Drag and Drop. All the blue lines and links will be invisible to them.

parts of a plant worksheet example

All they have to do is click on one of the draggable options, hold the mouse button down, drag it where they want it to be, and release the mouse button. When they drag it over a Drop Zone, the Drop Zone will highlight. Release the mouse button and the item will snap into place (unless you selected “Allow multiple items” in the Drop Zone.)  Once they are done, their worksheet will look like this:

parts of a plant drop zone worksheet

Get started with TeacherMade today!